Někteří uživatelé systému Windows, kteří nedávno upgradovali na Windows 10, si stěžovali, že panel úloh několikrát úplně zamrzl. Když k tomu dojde, uživatelé nemohou kliknout na žádný prvek na hlavním panelu, tj. Nabídku Start, ikony, oznámení. Klávesové zkratky jako Windows + R a Windows + X také nefungují.
Tento problém nemá hlavní příčinu, protože je ve Windows velmi běžný. Někteří to však spojili s Dropboxem a několika nefunkčními aplikacemi. V tomto článku prozkoumáme různé možnosti, kterými můžeme tento problém vyřešit. To zahrnuje mimo jiné skenování SFC, odinstalování určitých aplikací, spuštění průzkumníka.
Metoda 1: Restartování Průzkumníka Windows
- Stisknutím kláves Ctrl + Shift + Esc spusťte Správce úloh systému Windows.
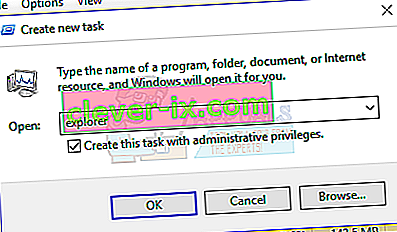
- Ve Správci úloh klikněte na Soubor > Spustit nový úkol . Do otevřeného pole napište průzkumník, poté zaškrtněte políčko „Vytvořit tento úkol s oprávněními správce“ a klikněte na OK .

Případně můžete:
- Stisknutím kláves Ctrl + Shift + Esc spusťte Správce úloh systému Windows.
- Vyhledejte Průzkumníka na kartě procesy
- Klikněte pravým tlačítkem na položku Průzkumník a vyberte možnost Restartovat .
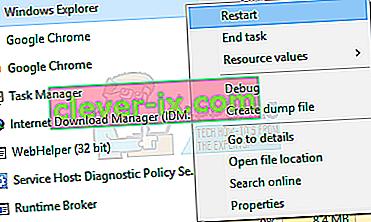
- Explorer se restartuje a hlavní panel by měl začít znovu fungovat

Metoda 2: Spuštění skenování SFC
- Stisknutím kláves Ctrl + Shift + Esc spusťte Správce úloh systému Windows.
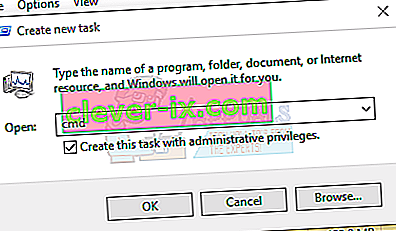
- Ve Správci úloh klikněte na Start> Spustit nový úkol . Do otevřeného pole zadejte cmd, poté zaškrtněte políčko „Vytvořit tento úkol s oprávněními správce“ a klikněte na OK .
- Na příkazovém řádku zadejte následující příkazy a po každém příkazu stiskněte klávesu Enter:
sfc / scannow dism / Online / Vyčištění obrazu / Obnovit zdraví
Spustí se kontrola systémových souborů a opraví se všechny poškozené systémové soubory v počítači.
- Restartujte počítač a zkontrolujte, zda zamrzlý hlavní panel přestal.

Metoda 3: Oprava Powershell
Pomocí tohoto příkazu Powershellu uvolněte zmrazený hlavní panel pomocí těchto kroků.
- Ctrl + Shift + Esc spusťte Správce úloh systému Windows.
- Klikněte na Další podrobnosti , vyberte kartu Služby a ujistěte se, že je spuštěn MpsSvc (brána Windows Firewall).
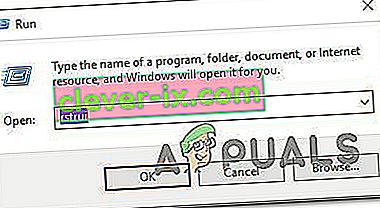
- Stiskněte tlačítko Windows + R klíč k otevření Run výzva. Sem PowerShell v výzvu a stiskněte klávesu Enter.
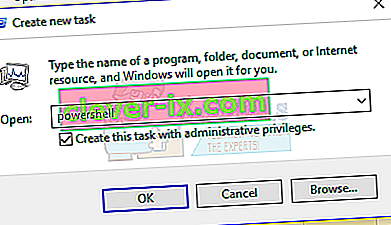
Pokud se výzva Spustit neotevře, stisknutím kláves Ctrl + Shift + Esc spusťte Správce úloh systému Windows, klikněte na Start> Spustit nový úkol . Do otevřeného pole napište powerhell, pak zaškrtněte políčko „Vytvořit tento úkol s oprávněními správce“ a klikněte na OK .
- V okně Powershell vložte následující příkaz a stiskněte klávesu Enter:
Get-AppXPackage - AllUsers | Foreach {Add-AppxPackage -DisableDevelopmentMode - Registrace „$ ($ _. InstallLocation) \ AppXManifest.xml“}. - Váš hlavní panel by poté měl být plně funkční.

Metoda 4: Povolte Správce uživatelů
Zakázaný Správce uživatelů může mít za následek zablokování hlavního panelu Windows 10. Zkuste tyto kroky znovu povolit Správce uživatelů.
- Stiskněte klávesu Windows + R , zadejte services.msc a klikněte na OK . Tím se otevře konzola služeb.
- Vyhledejte Správce uživatelů a poklepejte na něj.
- Nastavte Typ spouštění na Automaticky a spusťte službu, pokud byla zastavena. Klikněte na OK .

- Restartujte počítač a hlavní panel by měl v tuto chvíli fungovat perfektně.

Metoda 5: Odinstalujte aplikace
Někteří uživatelé identifikovali určité aplikace, které způsobily správné fungování hlavního panelu. Tyto aplikace jsou Dropbox a Classic Shell . Pokud máte podezření, že to způsobují nějaké aplikace, můžete ji také odstranit.
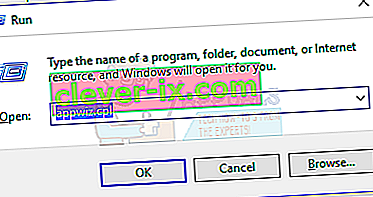
- Stisknutím kláves Windows + R otevřete výzvu ke spuštění. Zadejte appwiz. cpl a stiskněte Enter .
- Vyhledejte aplikaci v seznamu nainstalovaných aplikací a potom na ni dvakrát klikněte. Nyní dokončete odinstalování podle pokynů.
- Restartujte počítač a poté zkontrolujte, zda hlavní panel nyní správně funguje.

Metoda 6: Zakázání naposledy otevřených položek
Nedávno otevřené položky mohou zpomalit spuštění seznamu. Jejich deaktivací to zrychlíte a zabráníte zamrznutí. Podle těchto pokynů zakážete naposledy otevřené položky.
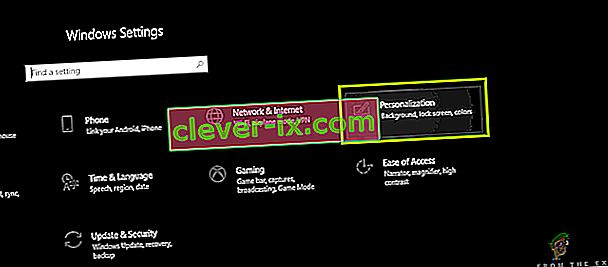
- Stisknutím kombinace kláves Win + I otevřete aplikaci Nastavení.
- Přejděte na Personalizace> Start
- Posunutím přepínacího tlačítka vedle položky Zobrazit naposledy otevřené položky v Seznamech odkazů na Start nebo na hlavním panelu ji vypnete.

- Hlavní panel by neměl při příštím restartu zamrznout při spuštění

Metoda 7: Obnovení výchozích služeb Windows 10
Pokud v tomto okamžiku žádná z výše uvedených metod nefungovala, zkuste spustit tento skript jako správce tak, že na něj kliknete pravým tlačítkem a vyberete Spustit jako správce . Pokud z nějakého důvodu vaše WiFi již nefunguje, opravte problém s WiFi podle pokynů zde (v Metodě 3 - Krok 2: Možnost 2).
Metoda 8: Vytvoření nového uživatelského účtu
V některých situacích může dojít k chybě, pokud nastavení nebo konfigurace vašeho uživatelského účtu nebyly správně nastaveny a také pokud dojde k poškození těchto konfiguračních dat. Alternativně se tedy můžete pokusit vytvořit nový uživatelský účet v počítači se systémem Windows 10 a poté importovat data ze staršího účtu později, pokud problém vyřeší. Za tímto účelem:
- Stisknutím „Windows“ + „I“ otevřete nastavení a klikněte na možnost „Účty“ .
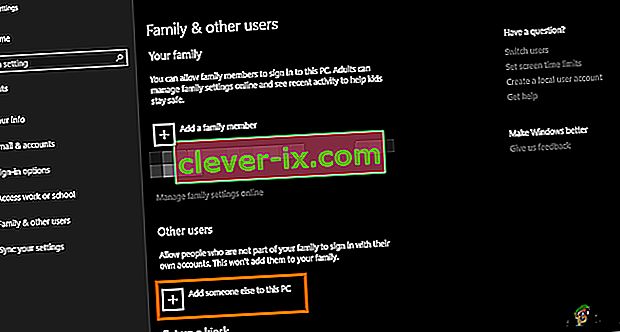
- V možnosti účtů klikněte na tlačítko „Rodina a další uživatelé“ na levé straně.
- V nabídce vyberte možnost „ Přidat někoho jiného do tohoto počítače “.
- V dalším okně klikněte na tlačítko „ Nemám přihlašovací údaje této osoby “.
- V novém okně, které se objeví, klikněte na možnost „Přidat uživatele bez účtu Microsoft“ .

- Zadejte uživatelské jméno uživatelského účtu a přiřaďte mu heslo.
- Zadejte bezpečnostní otázky, odpovězte na ně a poté klikněte na možnost „Další“ .
- Po vytvoření tohoto účtu na něj klikněte a poté vyberte možnost „Změnit typ účtu“ .
- Klikněte na rozbalovací nabídku „Typ účtu“ a poté vyberte možnost „Správce“ .
- Uložte změny a přihlaste se k tomuto účtu.
- Po přihlášení k účtu spusťte Steam a zkontrolujte, zda hra běží.


Pokud to opraví problém ve vašem počítači, nezapomeňte importovat data uživatelského účtu z předchozího účtu do tohoto nového a pokračovat v běžném používání.
Metoda 9: Diagnostika v nouzovém režimu
Někdy jste možná do počítače nainstalovali některé aplikace třetích stran, které vám mohou bránit ve správném spuštění hlavního panelu nebo přidružených služeb. Kromě toho je možné, že i služba Windows nebo Microsoft brání řádnému fungování počítače. Proto v tomto kroku budeme diagnostikovat tento problém v nouzovém režimu a poté zkontrolujeme, zda je možné jej opravit. Pro to:
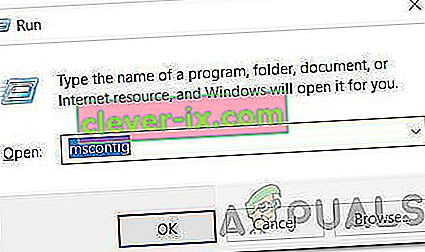
- Stisknutím kláves „ Windows“ + „ R“ spustíte výzvu k spuštění.
- Zadejte „ MSCONFIG“ a stiskněte „ Enter“ pro spuštění konfiguračního okna Microsoftu.
- V tomto okně klikněte na kartu „Služby“ a zrušte zaškrtnutí u položky „Skrýt všechny služby Microsoftu“
- Po zrušení zaškrtnutí této možnosti klikněte na tlačítko „Zakázat vše“ a kliknutím na „Použít“ uložte změny.
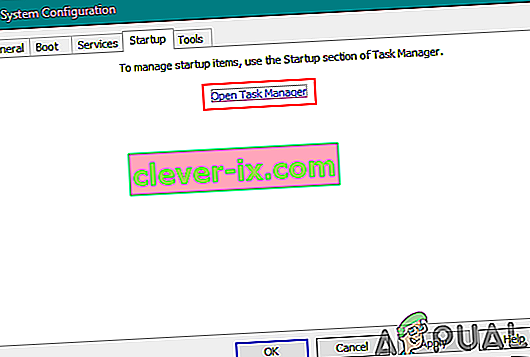
- Poté klikněte na kartu „Spuštění“ a poté kliknutím na tlačítko „Otevřít správce úloh“ spusťte správce úloh.
- Ve Správci úloh klikněte na každou aplikaci, která byla povolena, a poté klikněte na tlačítko „Zakázat“ , aby se zabránilo spuštění při spuštění.
- Restartujte počítač a nyní spusťte do bezpečného režimu.
- V nouzovém režimu zkontrolujte, zda váš hlavní panel po nějaké době nebo dokonce při spuštění zamrzne.
- Pokud hlavní panel v tomto režimu nezmrzne, znamená to, že tento problém způsobovala aplikace nebo služba jiného výrobce.
- Začněte postupně povolit aplikace a zkontrolujte, u které z nich se problém vrátil.
- Pokud jsou všechny aplikace v pořádku, začněte postupně povolovat služby a zkontrolujte, u které z nich se problém vrátil.
- Udržujte problematickou službu / aplikaci deaktivovanou nebo ji zkuste přeinstalovat / aktualizovat.


Metoda 10: Provádění obnovení systému
Někteří uživatelé zjistili, že provedením jednoduchého obnovení dřívějšího pracovního dne byl jejich problém vyřešen, ale budete muset pečlivě vybrat bod obnovení, do kterého budete obnovovat. Doporučuje se, abyste tento proces provedli ručně místo použití automatického obnovení. Chcete-li provést tento krok, postupujte podle níže uvedeného průvodce.
- Stisknutím kláves „Windows“ + „R“ otevřete výzvu Spustit.
- Zadejte „rstrui“ a stisknutím „Enter“ otevřete okno správy obnovení.
- Klikněte na „Další“ a zaškrtněte možnost „Zobrazit více bodů obnovení“ .
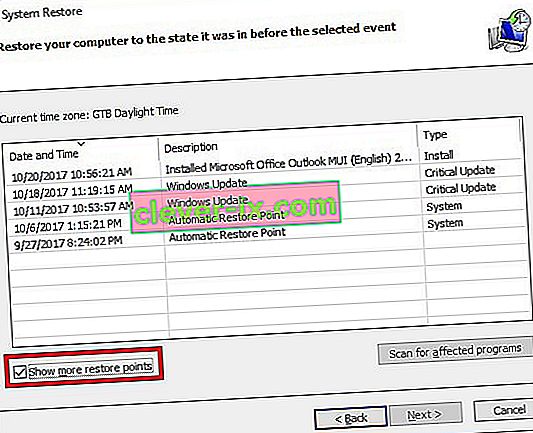
- Vyberte v seznamu bod obnovení, který je starší než datum, kdy k tomuto problému ve vašem počítači došlo.
- Znovu klikněte na „Další“ a podle pokynů na obrazovce obnovte vše zpět k datu, které jste vybrali v okně obnovení.
- Zkontrolujte, zda to opravuje problém se zmrazeným hlavním panelem.


Metoda 11: Přepnout systémové ikony
Je možné, že v některých případech může dojít k závadě nastavení ikon systému ve vašem počítači, kvůli kterému se tento problém spouští. V tomto kroku proto přepínáme tyto ikony a poté zkontrolujeme, zda to problém vyřeší. Pro to:
- Stisknutím „Windows“ + „I“ otevřete nastavení a klikněte na možnost „Personalizace“ .
- Na levé straně klikněte na tlačítko „Hlavní panel“ .
- V záhlaví „Oblast oznámení“ klikněte na tlačítko „Zapnout nebo vypnout systémové ikony“ .

- Všechny ikony v dalším okně můžete postupně přepínat tak, že je na několik sekund vypnete a znovu zapnete.
- Po dokončení tohoto procesu přejděte zpět na plochu zavřením z tohoto okna.
- Zkontrolujte, zda se tím problém vyřešil.


Metoda 12: Spusťte Poradce při potížích s údržbou systému Windows
Je možné, že ve vašem počítači mohou být nějaké zbytky souborů, kvůli kterým je nedostatek paměti pro stránkování systému nebo pokud v některých aplikacích existují zbytky zkratek, které mohou také zabránit správnému fungování hlavního panelu. Proto v tomto kroku spustíme Poradce při potížích s údržbou systému Windows a poté zkontrolujeme, zda tento problém opravuje. Pro to:
- Press “Windows’ + “R” to open the Run prompt.
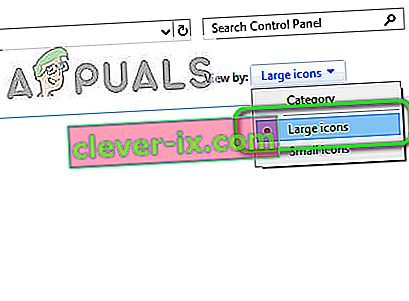
- Type in “Control Panel” and press “Enter” to launch the classical control panel interface.

- Click on the “View By:” option from the top and select the “Large Icons” option from the menu.
- In the next window, click on the “Troubleshooting” option and then click on the “Run Maintenance Tasks” button.
- In the window that pops up, click on the Next button, and provide administrative privileges to successfully run this task.
- Wait for the Maintenance to be completed and check to see if doing so has fixed the issue with the frozen taskbar.


Method 13: Use DDU to Perform a Clean Install
In some cases, it is possible that the Graphics Card installed on the system might have a faulty driver installed due to which this issue is being triggered. Therefore, in this step, we will be performing a Clean install of the Graphics Driver by uninstalling the Driver using DDU and then we will check to see if doing so has fixed the issue with the Taskbar. For that:
- Make sure to back up any important data before performing this step in case something goes unexpected.
- Download the DDU software from this website.
- After downloading the software, extract the zip file and open the folder where it has been extracted.
- Run the “.exe” file inside the folder and it will automatically further extract inside the same folder.
- Open the newly extracted folder and click on the “Display Driver Uninstaller.exe”.
- Click on the “Select Device Type” dropdown and select “GPU”.
- In the other dropdown, select the manufacturer of your GPU and then click on the “Clean and do not Restart” option.
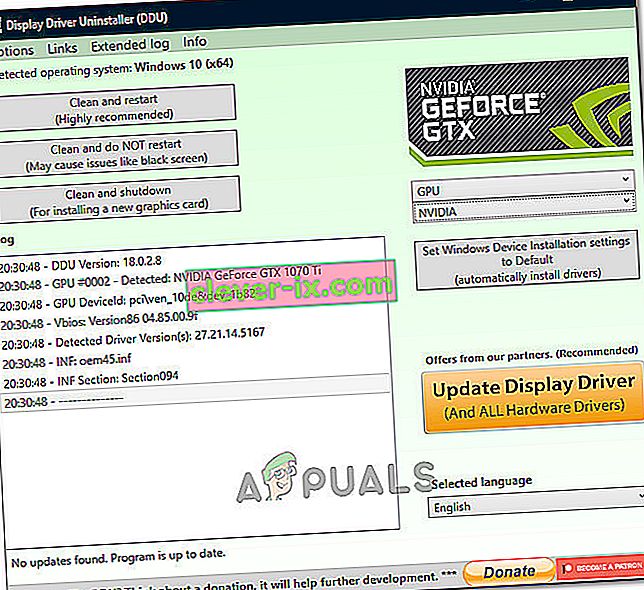
- This will uninstall the device driver for your GPU and it should automatically shift to the Microsoft Basic Visual Adapter.
- After uninstalling this software, download the GPU driver from your manufacturer’s website by specifying your exact make and model.
- Install this software on your computer and then check to see if doing so fixes the taskbar freezing issue on your computer.

Method 14: Stopping Windows Service
In some situations, it is possible that a certain Windows service might need to be stopped from the task manager. Therefore, in this step, we will be preventing it from running in the background as it has likely hanged due to which the taskbar is being frozen. In order to stop this service:
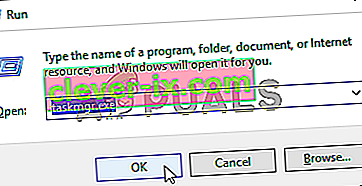
- Press “Windows’ + “R” to open the Run prompt.
- Type in “taskmgr” and press “Enter” to open the Task Manager.
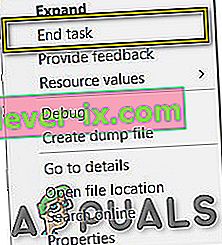
- Click on the “Processes” tab and from the list, click on the “Service Host: DCOM Server Process Launcher” service.
- Click on the “End Task” button and close out of the task manager.
- After closing out of the task manager, check to see if doing so has fixed the frozen taskbar situation.

Method 15: Stop Microsoft Edge and Remove it from Taskbar
In some situations, the default browser that comes installed with Microsoft Windows might just be the culprit behind this whole issue. If you are using another browser as your go-to default browser, you might see that using the Microsoft Edge browser causes issues with the taskbar. Therefore, in this step, we will be stopping Microsoft Edge from the Task Manager and then we will remove it from the taskbar. For that:
- Press “Windows’ + “R” to lauch the Run prompt.
- Type in “taskmgr” and press “Enter” to open the Task Manager.
- Click on the “Processes” tab and from the list, click on the “Microsoft Edge” browser.
- Click on the “End Task” button and close the task manager.
- If the Taskbar is still frozen, restart your computer and repeat this process.
- After doing so, right-click on the Microsoft Edge icon in the taskbar.
- Select the “Unpin from Taskbar” option to remove Microsoft Edge from your taskbar.
- Check to see if doing so fixes the issue.

Method 16: Remove Outdated References
It is possible that your Registry might be plagued with outdated references to an old operating system that you might’ve upgraded from. Even if you have removed the Windows.old folder from your computer, some driver and registry files might still be associated with the “Windows.old” folder which practically doesn’t exist on your computer and this misconfiguration might prevent your computer from working properly. Therefore, in this step, we will be removing it from the registry editor. For that:
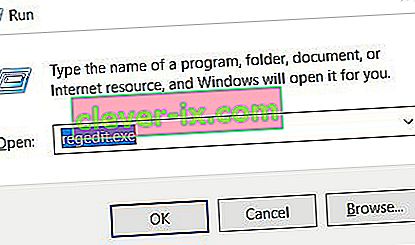
- Press “Windows’ + “R’ to open the Run prompt.
- Type in “regedit” and press “Enter” to open the registry editor.
- Press “Ctrl” + “F” to open the finder and type in the “c:\windows.old” line and press “Enter” to find any registry related entries.
- Delete or remove any such entries that refer to this and run an SFC scan to check for any missing files.
- Make sure to install any missing drivers using Driver Easy and then check to see if the Frozen Taskbar issue has been fixed.

Method 17: Rollback Updates
In some situations, Windows might’ve acquired some updates that are preventing your computer from functioning properly and due to this, the taskbar feature has been broken. Therefore, in this step, we will be rolling back some recently installed updates and then we will check to see if doing so fixes the frozen taskbar issue. In order to do that:
- Press “Windows’ + “I” buttons on your keyboard to open the Windows settings.
- In the Windows Settings, click on the “Update and Security” button and from the left pane, select “Windows Update”.
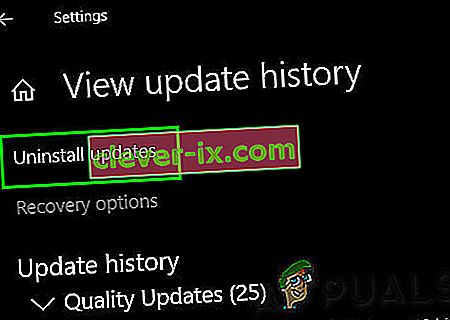
- On the next screen, select the “Update History” button and it should lead to a new window.
- In the new window, there should be an “Uninstall Updates” button and by clicking on it, a prompt should open that should enable you to be able to uninstall an update.
- Follow the on-screen instructions to be able to fully remove the update and check to see if the issue persists after doing so.


Method 18: Signing out of Account
It is possible that the Windows Taskbar is getting frozen due to a glitch during the account login. Therefore, we can test this out by simply signing out of our account and then signing back in to ensure that the account is logged in properly and that it is properly registered with the Microsoft Servers. In order to do so:
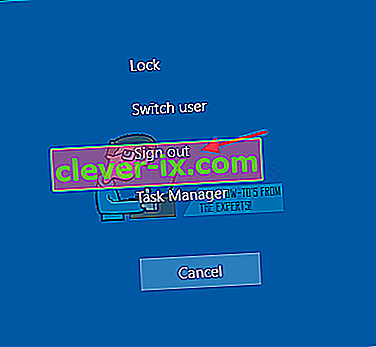
- Press “Ctrl” + “Alt” + “Del” buttons on your keyboard to open up the account options.
- Click on the “Sign out” option from the screen to log out of your account.
- Wait for Windows to completely sign you out of your account and confirm any prompts on your screen to complete the sign-out process.
- Select your account and sign back into your account from the next screen by entering your login details.
- Check to see if doing so has fixed the frozen taskbar issue on your account.

Method 19: Creating Batch File
Most people found that restarting the Windows Explorer fixed their issue but for some of them, it kept coming back after a while. Therefore, in this step, we figured out a way for the people that can solve it by restarting but all they will have to do is click on a batch file present on their desktops. For that:
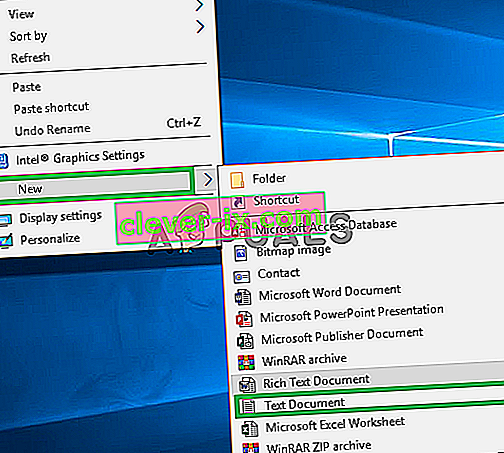
- Right-click anywhere on your desktop and select the “New>” option.
- Click on the “Text Document” option and a new text document will be created on your desktop.
- Open this text document and paste the following lines inside of the text document.
taskkill /f /IM explorer.exe start explorer.exe exit
- Click on the “File” option at the top left of the window and select the “Save As” option.
- Enter the “TaskMRestart.bat” as the file name and select “All Files” from the “File Type” dropdown.
- Save this file on your desktop and exit out of the document.
- Now, double-clicking on this newly saved file should automatically restart File Explorer which should fix the Frozen taskbar issue within a second.
- You can just click on the file whenever the taskbar freezes and it should fix itself.

Method 20: Perform an Update
The frozen taskbar issue was a very famous topic on most Microsoft forums and apparently a lot of Microsoft officials took note of it. Therefore, it is possible that this issue might’ve been fixed for some people in recent updates released by Microsoft. Therefore, in this step, we will be checking for any available updates from Microsoft and installing them on our devices. For that:
- Press “Windows” + “I” to open the settings.
- In the settings, click on the “Update and Security” option and then select the “WindowsUpdate” button from the left side.
- In the Windows Update, click on the “Check for Updates” button and a prompt will be registered that will automatically check for any newly available updates.
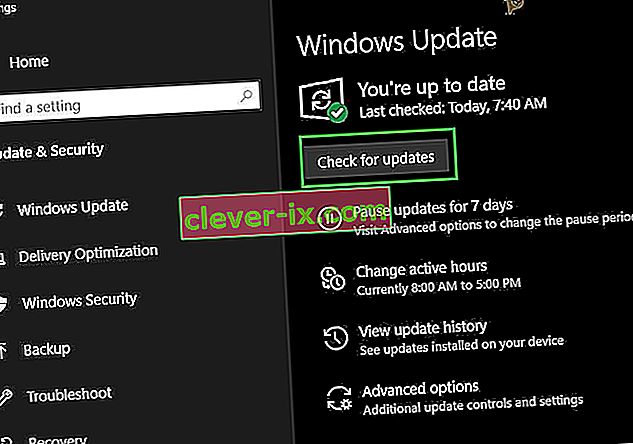
- Install these updates on your computer by following the on-screen instructions and restart your computer.
- Check to see if installing these updates fixes the issue on your computer.

Method 21: Unpinning Items from Start Menu
Some people like to pin important items to the start menu for ease of access and increased productivity. However, as it stands, some Windows users have been facing the frozen taskbar issue due to these pinned items. Therefore, in this step, we will be unpinning some items from the start menu and the taskbar and then we will check to see if doing so fixes the frozen taskbar bug.
- Press the “Windows” button on your keyboard to launch the start menu.
- Inside the start menu, right-click on a tile on the right side of the start menu.
- Select the “Unpin from Start Menu” button to remove the item from the Start menu tiles.
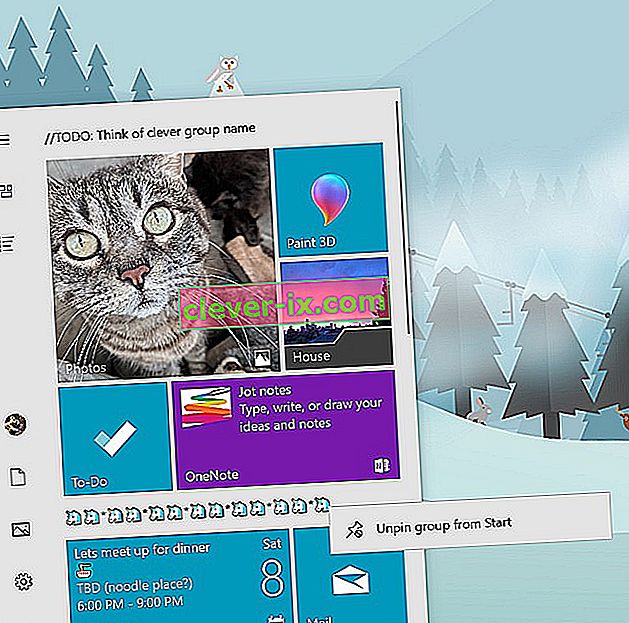
- After removing some items, check to see if the bug is fixed.
- Try removing all the items that can be removed if the bug comes back and check again.
- For a more accurate removal, try removing all the programs from the taskbar and the Start menu that try to connect to the internet, for example, Microsoft Edge, Cortana, News, etc.

Method 22: Disable Items from Bios
It is possible in some cases that the computer’s Bios has been improperly configured due to which the Windows Taskbar is getting frozen time and time again. Therefore, in this step, we will first be booting inside the Bios from which we will disable an option that should get rid of this problem if it was based around the Bios. In order to do so:
- Stiskněte tlačítko „Windows“ na klávesnici a klikněte na ikonu „Tlačítko napájení“ .
- Vyberte ze seznamu možnost „Restartovat“ a počkejte, až počítač vyzve k restartování.
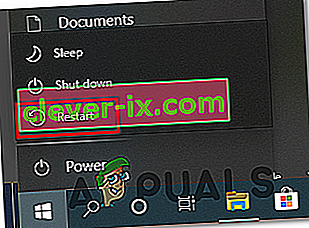
- Když se počítač vypne a začne se bootovat, začněte stisknutím klávesy „Del“, „F12“ nebo „F11“ zavádět systém BIOS počítače.
- Z biosu procházejte různými nastaveními, dokud nenajdete funkci „iGPU Multi-Monitor“ .
- Zakažte tuto funkci v systému Bios a spusťte zpět do systému Windows.
- Zkontrolujte, zda deaktivace této funkce fungovala, a opravte chybu ukotveného hlavního panelu.


